• First and foremost, you need to fully permission to access Network Admin by using WP Engine account. After that, navigate to Plugins » Add New.
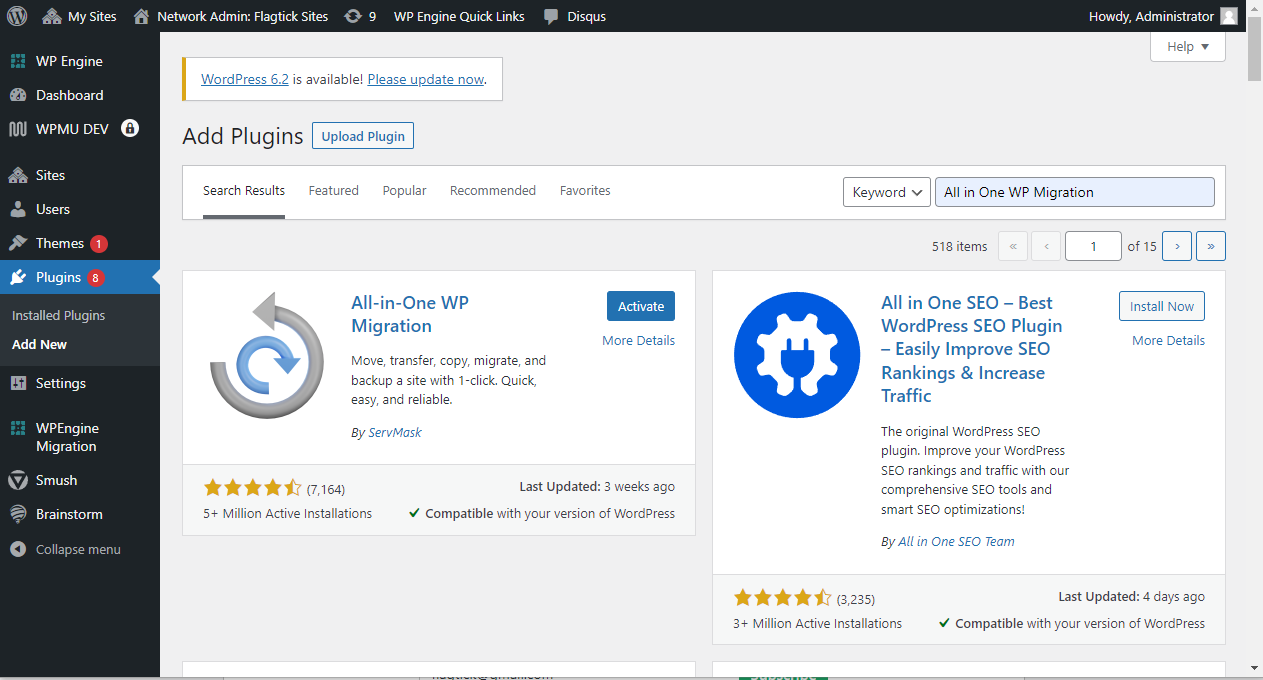
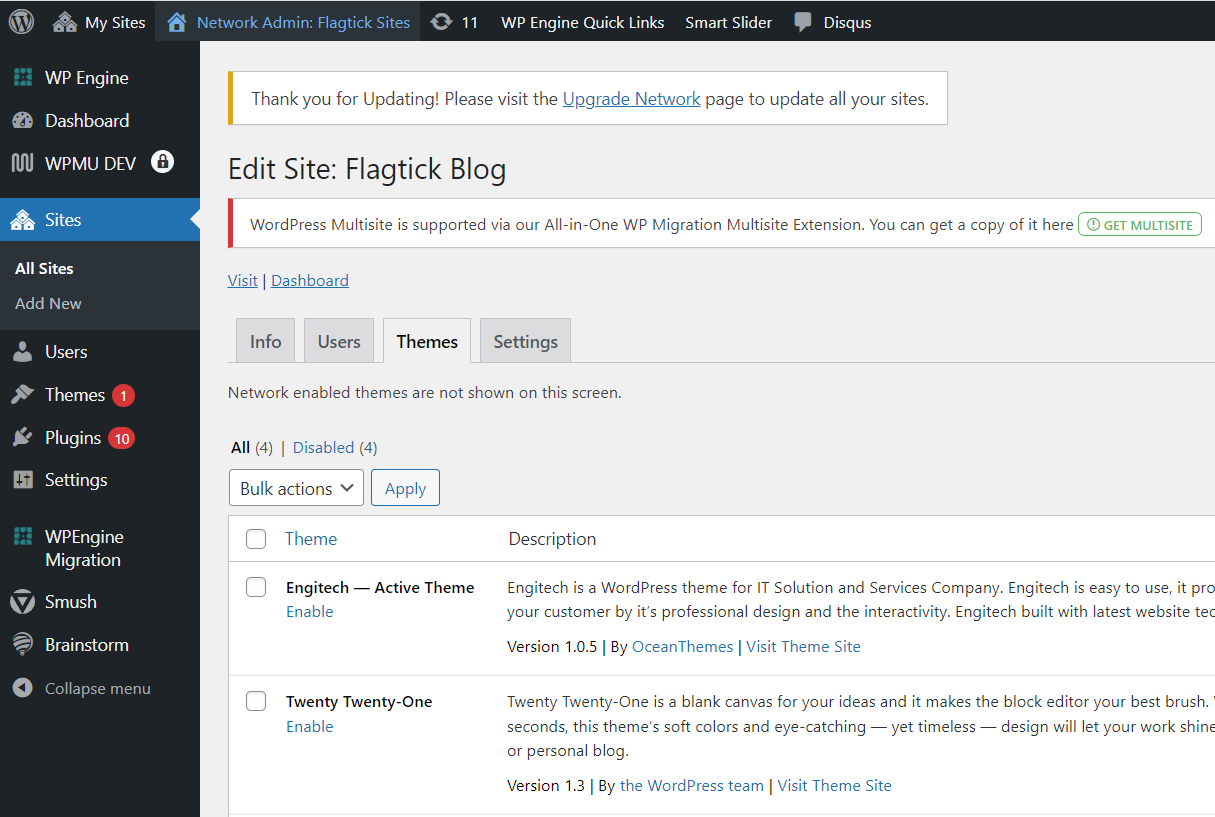
• Carry out of activating All-in-One WP Migration plugin and move to subsite to observe.
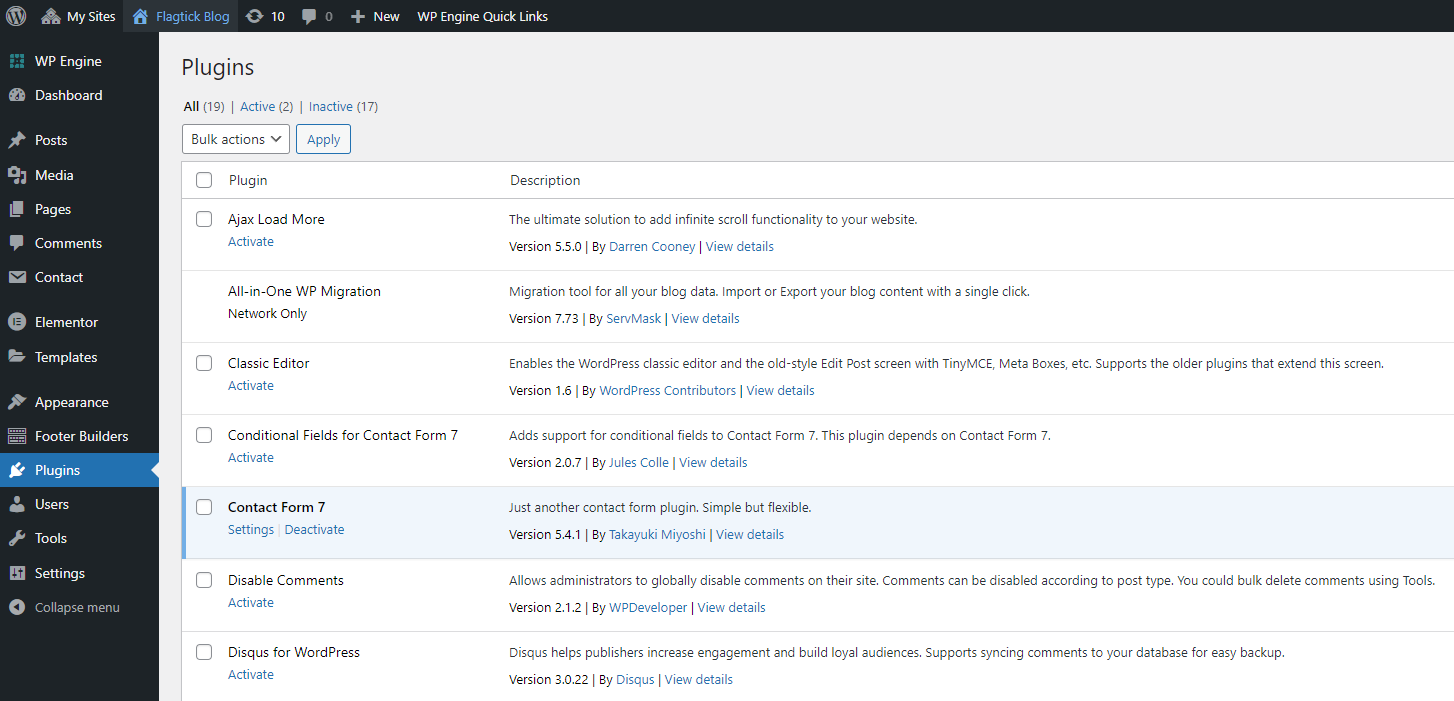
In reality, that plugin doesn't share from Network Admin to multiple sites. Let try with All in One SEO plugin then the result as below:
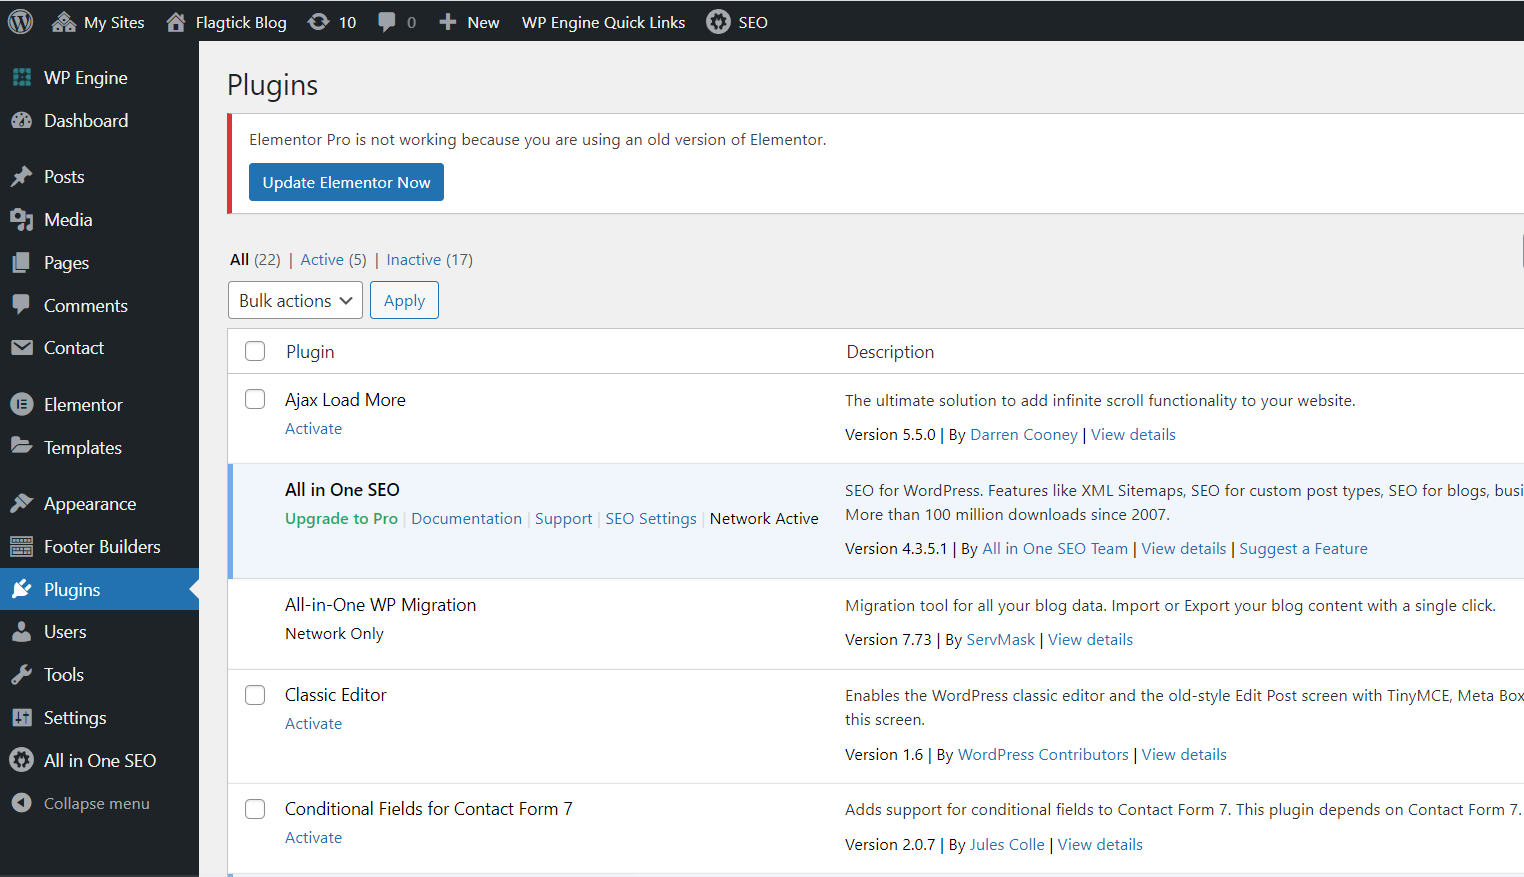
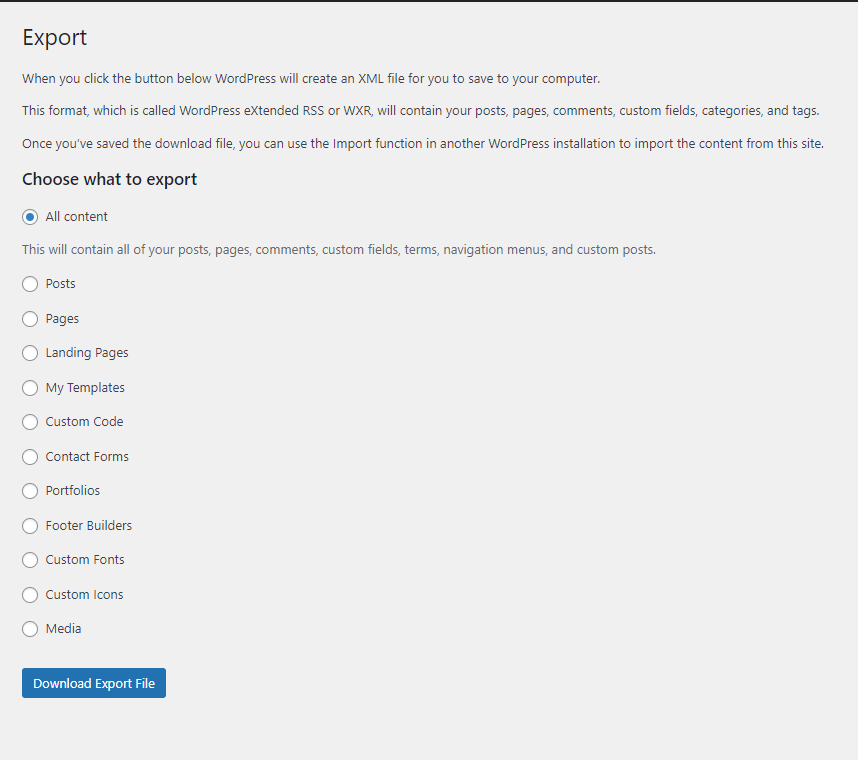
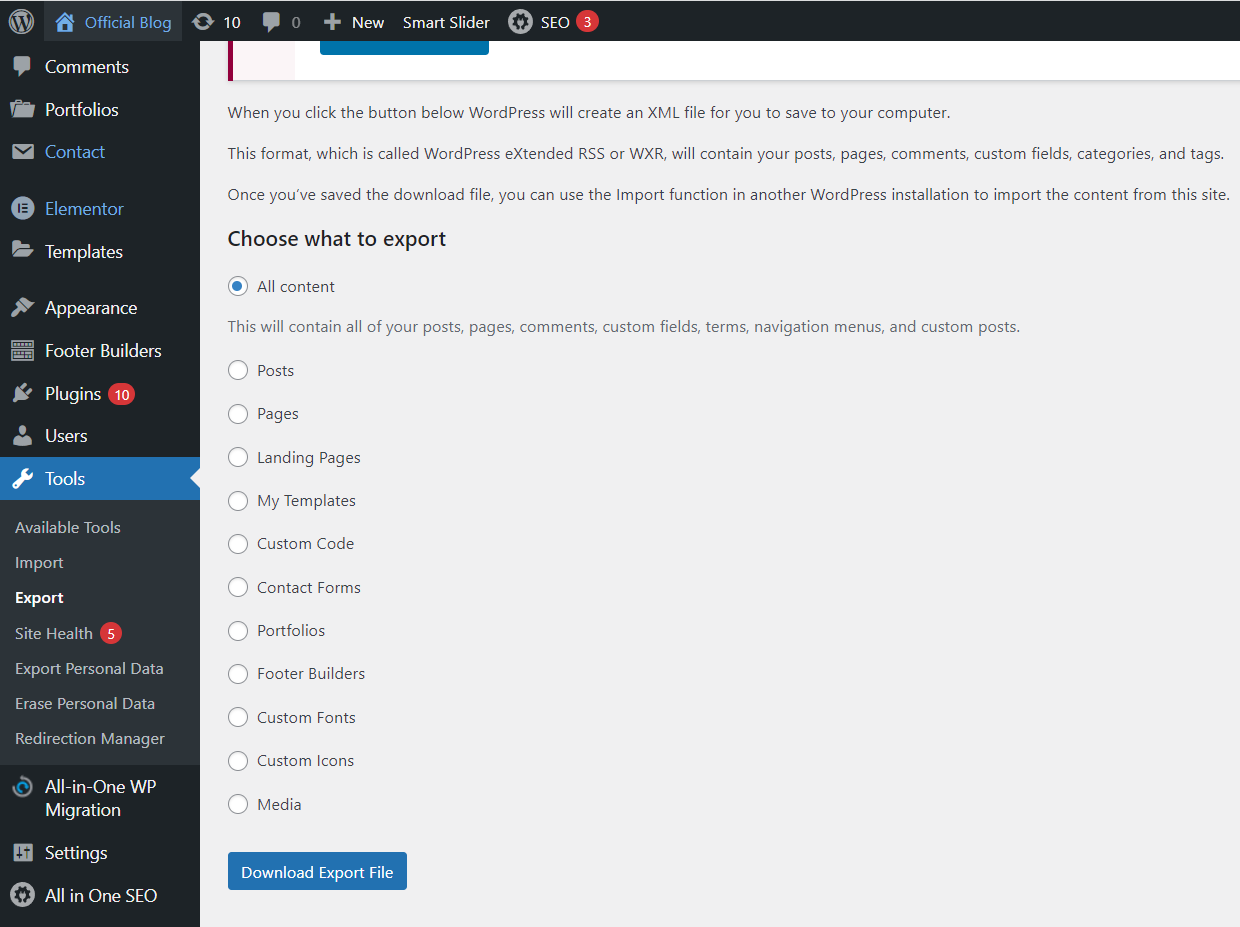
Hence, we will back normally WordPress Import/Export content to migrate between website.
• Before moving forward, we will need to look at structure in phpmyadmin where WP Engine arrange content between major domain and subdomains.

As you can see here, we have two table. One for wp_posts and another for wp_2_posts. That point out we must be carefully overriding content to subdomain to avoid effectiveness to major domain.
(*) wp_2_posts (Got 6 records)
SELECT COUNT(*) FROM `wp_2_posts` WHERE 1
(*) wp_2_posts (After using WordPress importer)

SELECT COUNT(*) FROM `wp_2_posts` WHERE 1
We have totally 15 records. Hence, you have changes after using WordPress Run Importer. Now, let try all contents.
• Manually override advanced custom via tables in phpmyadmin to ensure WordPress website work well.
(*) wp_options - You need to export and change database name and table name to fit with https://phpmyadmin.wpengine.com site.
(*) Version
{
	"type": "header",
	"version": "5.2.0",
	"comment": "Export to JSON plugin for PHPMyAdmin"
},
(*) Database name
{
    "type": "database",
    "name": "sample_db"
  },
  {
    "type": "table",
    "name": "wp_options",
    "database": "sample_db",
    "data": [
		// TODO
	]
  }
  // TODO
}
(*) Website URL, Website Name and Website Blog Name
{
	"option_id": "1",
	"option_name": "siteurl",
	"option_value": "http://flagtick.com/fkagtickblog",
	"autoload": "yes"
  },
  {
	"option_id": "2",
	"option_name": "home",
	"option_value": "http://flagtick.com/fkagtickblog",
	"autoload": "yes"
  },
  {
	"option_id": "3",
	"option_name": "blogname",
	"option_value": "Flagtick Blog",
	"autoload": "yes"
  },
  // TODO
}
(*) Administrator Email (ignore and no need override)
{
	"option_id": "6",
	"option_name": "admin_email",
	"option_value": "[email protected]",
	"autoload": "yes"
},
(*) Activated Plugins
/** Detech from JSON format */
akismet/akismet.php
easy-wp-smtp/easy-wp-smtp.php
Note: Do a quick search with keyword = '.php' and get 16 installed plugin.
(*) Widget Categories (ignore and no need override)
How can we migrate all wp_options to WP Engine step by step across multiple sites? Let's discuss it here:
» Install theme WordPress and setup theme WordPress for sub site here.
» The next step is to move to Plugins and install all the necessary plugins for the multiple sites. Once you have successfully completed this step, you can activate the plugins from the sub-website.
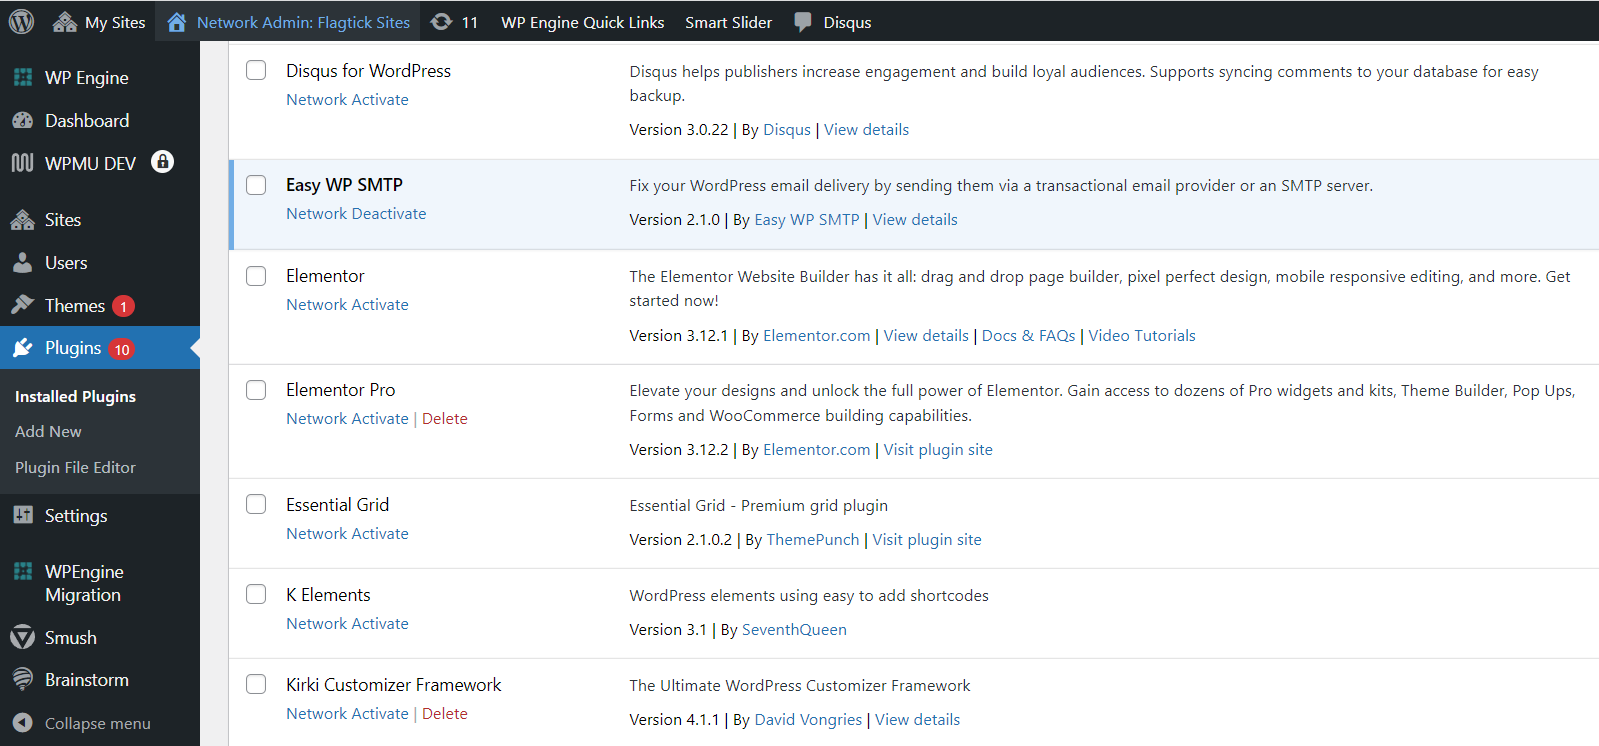
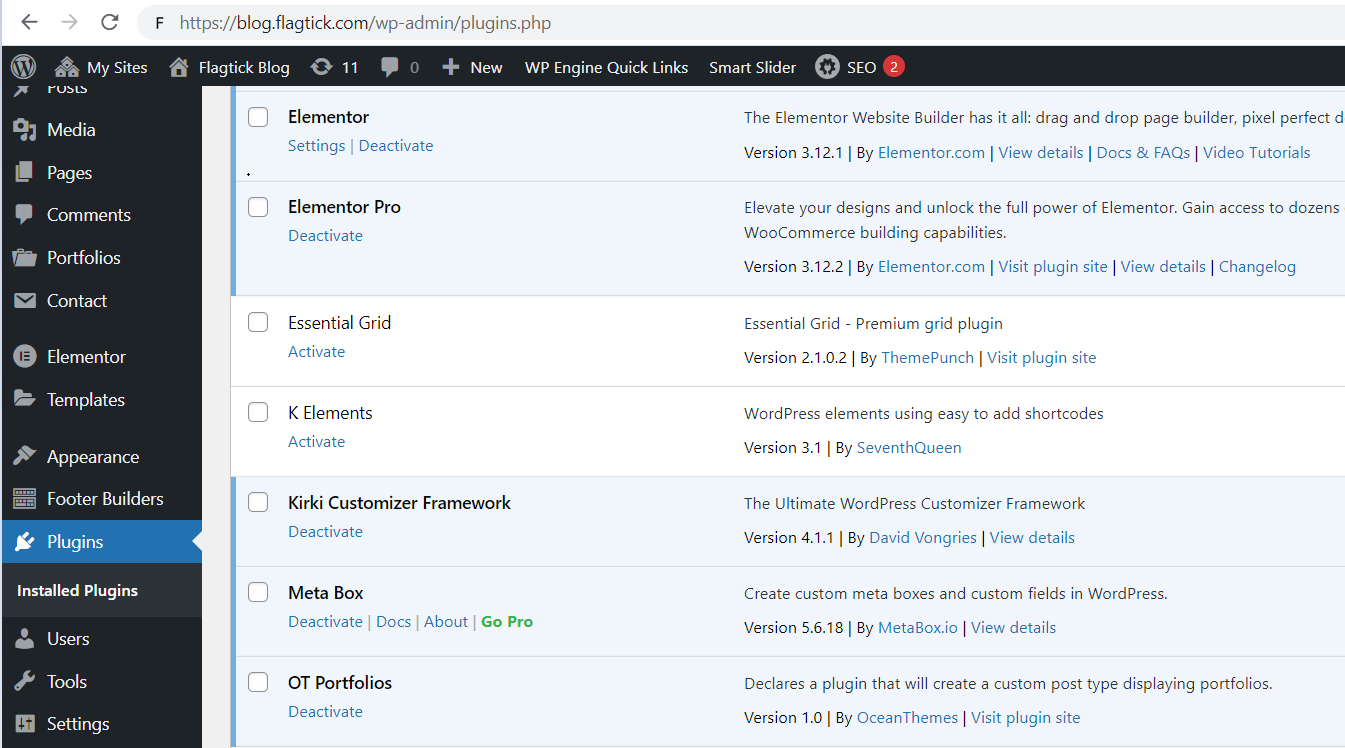
For example, you can install the Elementor Page Builder and Elementor Pro package in the Network Admin. To activate them, go to the sub-website and enable them.
» After that, take advantage of using Tools » Import/Export to synch all contents from custom domain to subdomain in WPEngine.
» To ensure that you can access the database from phpMyAdmin on WP Engine, follow these steps if you have multiple sites that use the same database:
For the main domain (http://flagtick.com), use the wp_options table.
For a subdomain (http://blog.flagtick.com), use the wp_2_options table.
The number '2' indicates the index of the sub site, which in this case is named blog.flagtick.com.
- Using TRUNCATE to empty all data in table wp_2_options before we modify wp_options from custom domain before execute `INSERT INTO` query.
- Using `SELECT COUNT(*) FROM `wp_2_options` WHERE 1;` to query all records if result equal `0`. We are correct for step as above.
- Update value in column named = `option_name` to fit with subdomain based using data from subdomain (Export wp_2_options as JSON format and compare each other)
- Modify Path with format URL from `elementor.com/wp-content/uploads/2020` into `elementor.com/wp-content/uploads/sites/2/2020`. With `sites` - Because, you activate multiple sites and `2` - Number create point out site at index 2.
- To proceed connection to the database or other resources, update the site URL and site name in your Wordpress settings while modify `wp_options` table.
- Launch query `INSERT INTO` to update all changes from custom domain to subdomain in phpMyAdmin to override all.
- Activate Elementor Pro from Sub site and import Elementor Kit from custom website to crawl all established and styles built from Elementor Page Builder.
- If you want to synchronize content between websites using other plugins, you can follow the same steps as those for Elementor Pro and Smart Slider Pro to set up the Import and Export slider using Smart Slider Pro.
- To modify the appearance and functionality of a WordPress website, you can adjust settings, add custom code, or install plugins. To proceed with these modifications, you need to open both the Customize menu and the menu for custom domains and subdomains. This will allow you to compare and update your settings accordingly. Additionally, if you need to locate a specific image, you can find its name from the custom domain and then search for it in the Media library of the subdomain to ensure you have the correct path and image.
- You can create a Contact Form 7 and use Easy WP SMTP to test the functionality of your mailbox server (Contact who is own domain)
Note: Sometimes, you may encounter errors, such as the duplicated error shown above. If this occurs, you can skip it and continue with the INSERT INTO statement. To monitor whether the query is successful or not, you can separate the query into smaller parts and paste them into the SQL Editor in phpMyAdmin to run.