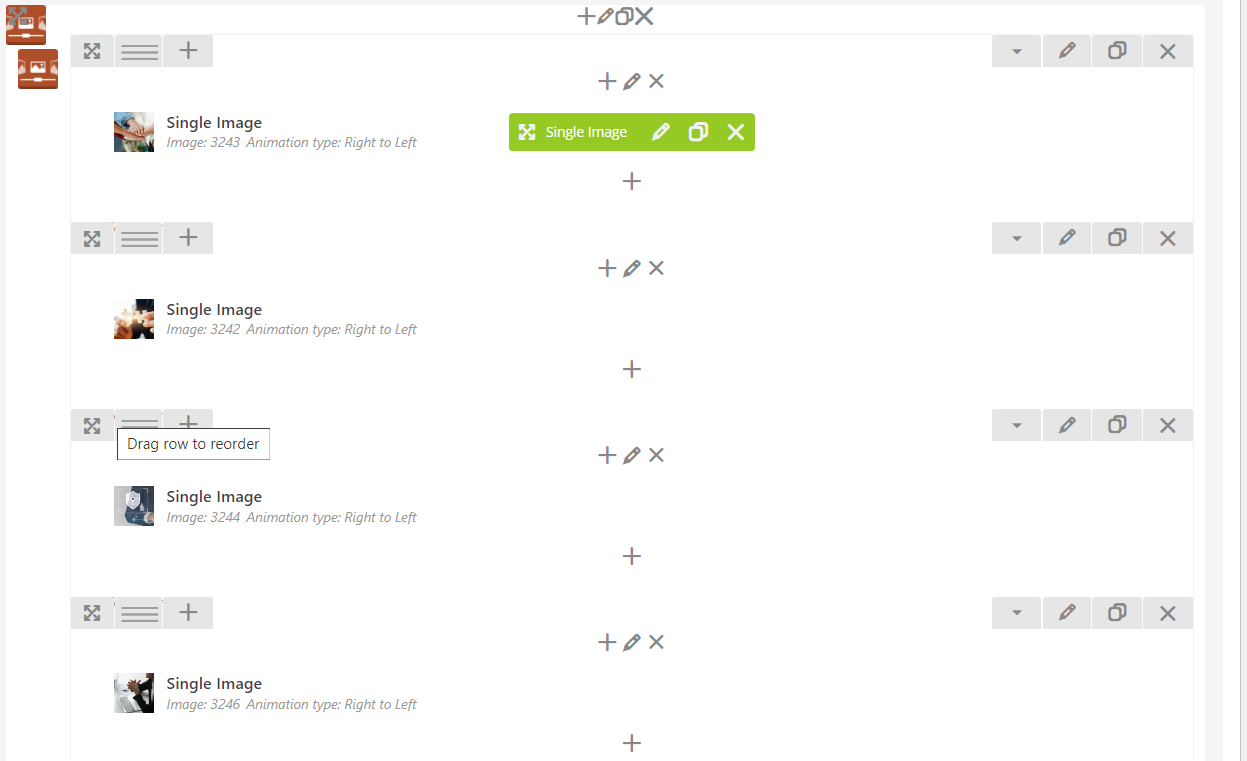
• Firstly, you need to create sample design and follow up to practice. Here, we had prepared available item for you.
• After that, you will structure element as ordering here:
Some attentions:
- Ratio 1/1 for custom layout in row and make the same for duplicated row.
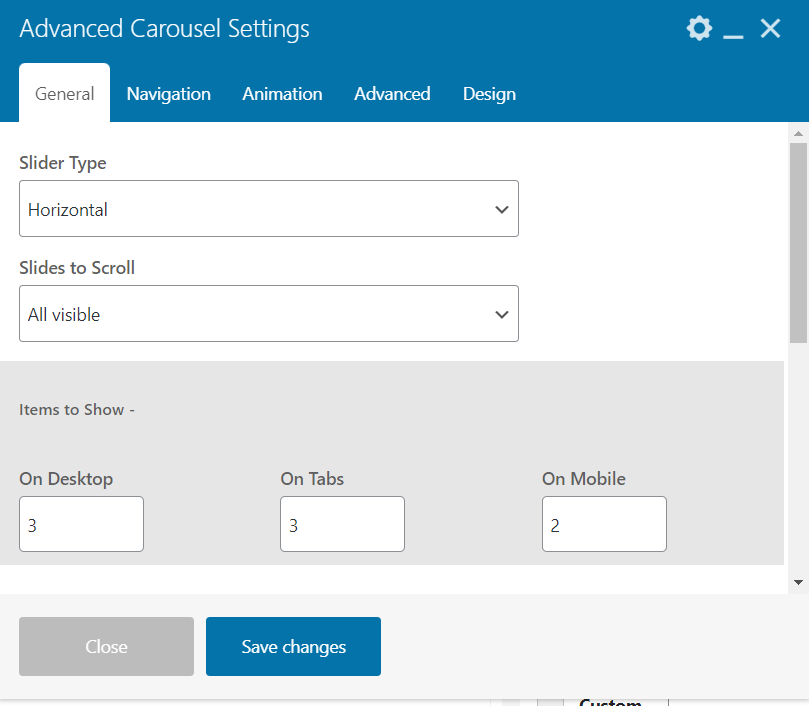
- Add extra class in Advanced Carousel Settings named `together-slider`. We will `display: block` to align horizontal and establish maximum three items for visible.
.together-slider > .slick-slider > .slick-list > .slick-track {
    display: block !important;
}
.together-slider > .slick-slider > .slick-next > i,
.together-slider > .slick-slider > .slick-prev > i {
    background: #ffffffe6;
    border-radius: 50%;
    padding: 8px;
}
- Keep the space between two items equal 0 pixel.
• Further upgrading new design, we will hover thumbnail and view text on image with underneath background overlay.
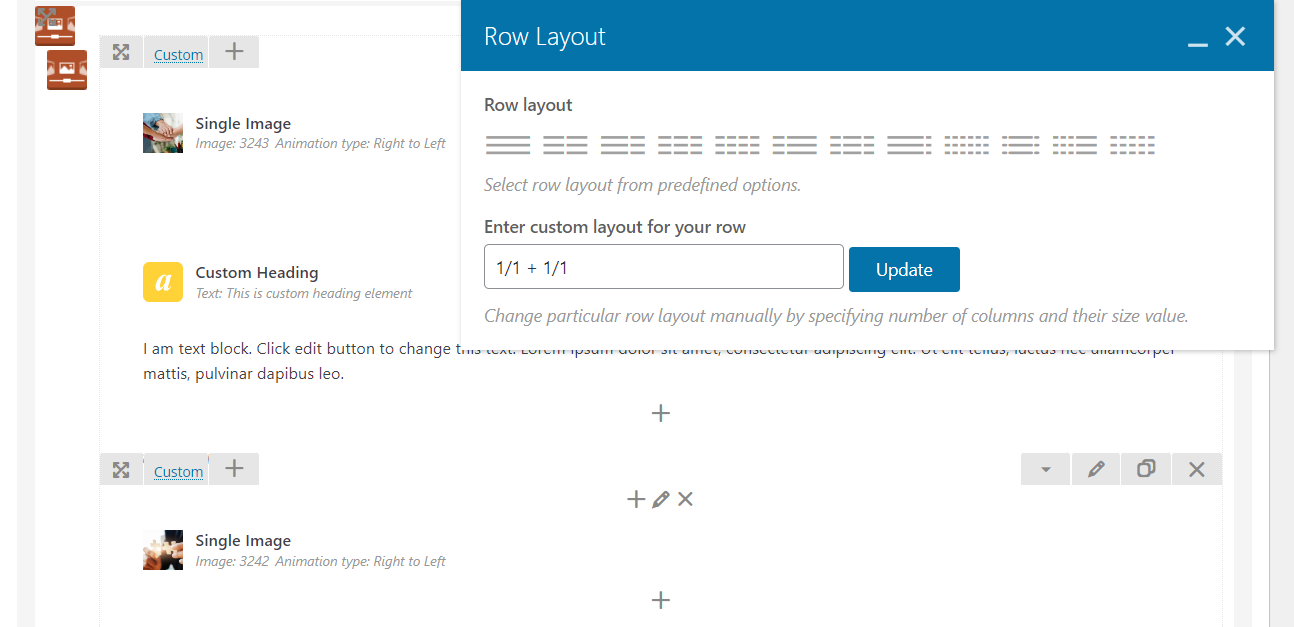
• We will insert 1/1+1/1 in `Enter custom layout for your row` from Inner Row.
- First Column: (1/1): Setup Single Image
- Second Column: (1/1) : Setup Heading Custom and Text Block.
After that, you can write custom CSS to hover the second column.
.together-slider > .slick-slider > .slick-list > .slick-track > .slick-slide > .vc_row > .ult-item-wrap:nth-child(2):hover {
    opacity: 1;
}

.together-slider > .slick-slider > .slick-list > .slick-track > .slick-slide > .vc_row > .ult-item-wrap:nth-child(2) {
    width: 352px;
    height: 480px;
    border-radius: 8px;
    position: absolute;
    background: #005fa8bf;
    margin-left: 15px;

    opacity: 0;
    transition: 0.5s ease-in-out;
}


